Understanding a Sprained Thumb
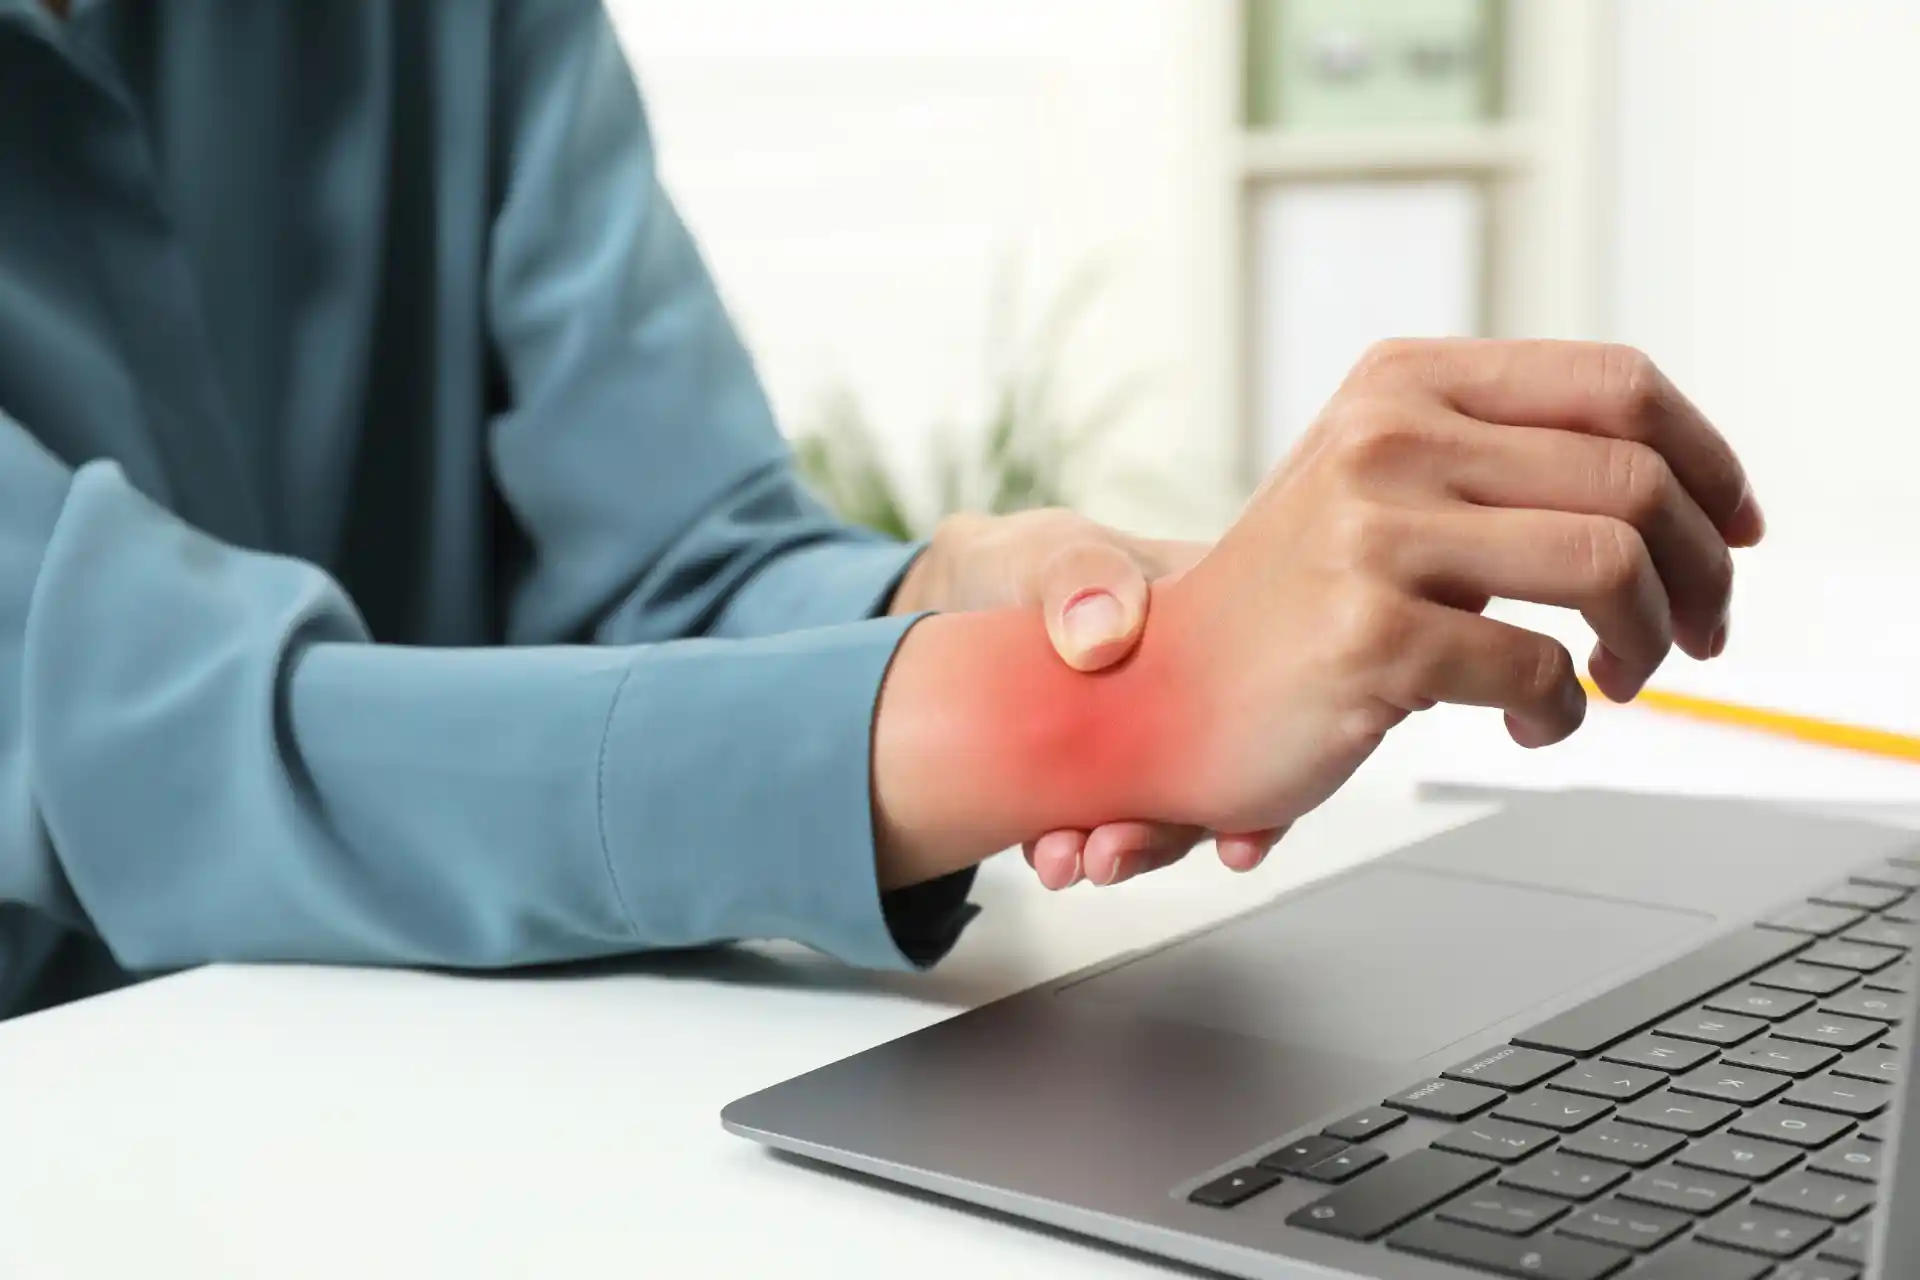
When it comes to ligament injuries, a sprained thumb is a common occurrence. Understanding the causes of a sprained thumb and the importance of taping for recovery is essential for effective treatment.
Causes of a Sprained Thumb
A sprained thumb typically occurs when the ligaments that support the thumb joint are stretched or torn. This can happen due to various reasons, including:
- Direct impact or trauma to the thumb, such as during a fall or sports-related activity.
- Forceful bending or twisting of the thumb joint beyond its normal range of motion.
- Repetitive stress on the thumb joint, often seen in activities that involve gripping or repetitive thumb movements.
It's important to note that the severity of a sprained thumb can vary from mild to severe, depending on the extent of ligament damage. In more severe cases, there may be complete tears of the ligaments, requiring prompt medical attention.
Importance of Taping for Recovery
Taping a sprained thumb is an effective way to support the injured ligaments and promote proper healing. Taping provides stability to the thumb joint, reducing excessive movement and preventing further damage. By immobilizing the thumb, taping also helps alleviate pain and discomfort.
Taping serves as a reminder to avoid activities that may strain the injured ligaments, allowing them to heal more efficiently. It also aids in reducing swelling and inflammation by providing gentle compression to the affected area.
Proper taping technique is crucial to ensure optimal support and protection for the sprained thumb. To learn the step-by-step process of taping a sprained thumb, refer to the section on Steps to Tape a Sprained Thumb.
In addition to taping, it's important to follow other measures for effective recovery, such as rest, icing, and pain management techniques. For a comprehensive guide on these tips, refer to the section on Tips for Effective Recovery.
If you suspect you have a sprained thumb or are experiencing symptoms such as pain, swelling, or difficulty moving the thumb, it's crucial to seek medical attention. A healthcare professional can evaluate the extent of the injury and provide appropriate treatment guidance. For further information on when to seek medical help, refer to the section on When to Seek Medical Help.
Steps to Tape a Sprained Thumb
When dealing with a sprained thumb, taping can provide essential support and stability to aid in the healing process. Follow these steps to properly tape your sprained thumb for a speedy recovery.
Preparing the Materials
Before you begin taping your sprained thumb, gather the necessary materials:
- Adhesive sports tape: Choose a tape specifically designed for sports and injuries. It should have good adhesive properties and provide adequate support.
- Scissors: Have a pair of scissors on hand to cut the tape to the desired length.
- Pre-wrap or foam underwrap: This is optional but can be used to provide additional cushioning and protect the skin from irritation caused by the tape.
Proper Technique for Taping
Follow these steps to tape your sprained thumb:
- Clean and dry your thumb: Ensure that your thumb is clean and dry before applying any tape. This helps the tape adhere properly to the skin.
- Anchor the tape: Start by anchoring the tape at the base of your thumb, just below the joint. Wrap the tape around your thumb, making a full circle. This serves as the foundation for the taping.
- Create support strips: Cut several strips of tape, approximately 2 inches long. These strips will provide additional support and stability to the sprained thumb.
- Apply the support strips: Starting from the base of your thumb, wrap each support strip diagonally across the joint and around the thumb. Make sure to overlap the strips slightly to ensure a secure hold. Repeat this process until you have covered the entire joint.
- Secure the tape: To secure the tape, wrap another anchor strip around the thumb, just above the joint. This helps hold the support strips in place.
- Test for comfort and mobility: After taping your sprained thumb, ensure that it feels secure but not overly tight. You should still be able to move your thumb comfortably without any pain or restriction. If the tape feels too tight or uncomfortable, remove and reapply it with slightly less tension.
Remember, taping your sprained thumb is not a substitute for proper medical care. If you suspect a more severe injury, such as a ligament tear, it is important to seek medical attention. Check out our article on ligament tear to learn more about the symptoms and treatment options.
By following these steps and practicing proper taping technique, you can provide stability and support to your sprained thumb, allowing for a quicker and more effective recovery. If you're interested in additional exercises to aid in the healing process, check out our article on sprained thumb exercises.
Tips for Effective Recovery
Recovering from a sprained thumb requires a combination of proper care and management. By following these tips, you can promote healing and ensure a speedy recovery.
Rest and Immobilization
Rest is crucial for allowing the sprained thumb to heal properly. Avoid activities that put strain on the thumb, such as gripping or lifting heavy objects. Immobilizing the thumb with a splint or brace can provide stability and prevent further injury. It's essential to wear the splint or brace as recommended by your healthcare provider to protect and support the injured ligaments.
Ice and Elevation
Applying ice to the sprained thumb can help reduce swelling and alleviate pain. Use a cold pack or wrap ice in a towel and apply it to the affected area for 15-20 minutes at a time, several times a day. Elevating the hand above heart level can also aid in reducing swelling. This can be achieved by propping your hand up on pillows or by using a sling to support your arm.
To further enhance the benefits of ice and elevation, consider using compression. Compression can be achieved by wrapping an elastic bandage around the thumb and hand, applying gentle pressure. However, be cautious not to wrap too tightly, as it may restrict blood flow.
Pain Management
Managing pain is an important aspect of the recovery process. Over-the-counter pain relievers, such as acetaminophen or nonsteroidal anti-inflammatory drugs (NSAIDs), can help reduce pain and inflammation. Always follow the recommended dosage and consult with a healthcare professional if you have any underlying medical conditions or concerns.
In addition to medication, you can also try natural remedies to alleviate discomfort. Applying a topical pain-relieving gel or cream can provide temporary relief. Gentle massage around the affected area with a pain-relieving ointment can also help improve blood circulation and aid in the healing process.
Remember, while these tips can assist in the recovery of a sprained thumb, it's important to consult with a healthcare professional for an accurate diagnosis and proper treatment plan. If you experience severe pain, loss of function, or if the symptoms worsen despite self-care measures, seek medical attention promptly.
When to Seek Medical Help
While taping a sprained thumb can provide support and aid in the recovery process, there are instances where seeking medical help is necessary. Recognizing the signs of complications and understanding the importance of professional evaluation can help ensure proper care and prevent further damage.
Signs of Complications
If you experience any of the following signs or symptoms after taping a sprained thumb, it's important to seek medical attention:
- Severe pain: If the pain intensifies or becomes unbearable despite proper taping and rest, it may indicate a more serious injury or additional damage to the thumb ligaments.
- Persistent swelling: While some swelling is expected after a sprained thumb, if the swelling continues to worsen or does not subside after a few days, it could be a sign of a more severe sprain or potential ligament tear.
- Limited mobility: If you are unable to move your thumb or experience significant difficulty in performing everyday tasks even after taping and rest, it may indicate a more severe injury that requires medical attention.
- Instability or joint dislocation: If you notice that your thumb joint feels unstable or if the joint appears visibly dislocated, it is crucial to seek immediate medical help to properly assess and treat the injury.
- Numbness or tingling: If you experience persistent numbness or tingling in your thumb, it could indicate nerve involvement or damage, which requires professional evaluation.
- Persistent weakness: If your thumb feels weak or you have difficulty gripping or holding objects even after taping and rest, it may indicate a more severe sprain or ligament tear that requires medical intervention.
Importance of Professional Evaluation
Seeking medical help for a sprained thumb is essential to ensure an accurate diagnosis and appropriate treatment. A healthcare professional, such as a doctor or orthopedic specialist, can perform a thorough examination and evaluate the extent of the injury. They may order diagnostic tests, such as X-rays or an MRI, to assess the ligaments and rule out any other underlying conditions.
Professional evaluation is particularly important in cases where the signs of complications are present or when the injury does not improve with self-care measures. A healthcare professional can provide specific treatment recommendations based on the severity of the sprain, including potential referrals for physical therapy or rehabilitation exercises. They can also guide you on the appropriate duration of taping and when it is safe to resume regular activities.
Remember, timely and proper medical evaluation can help prevent further damage, promote optimal recovery, and ensure the best possible outcome for your sprained thumb.
To learn how RELIEF® can help manage your ligament injury symptoms, without the need for steroids, medication, surgery, anesthesia, or post-procedure immobilization, contact us today to schedule a consultation.
.jpg)


.webp)
.jpg)

.svg)