.jpg)
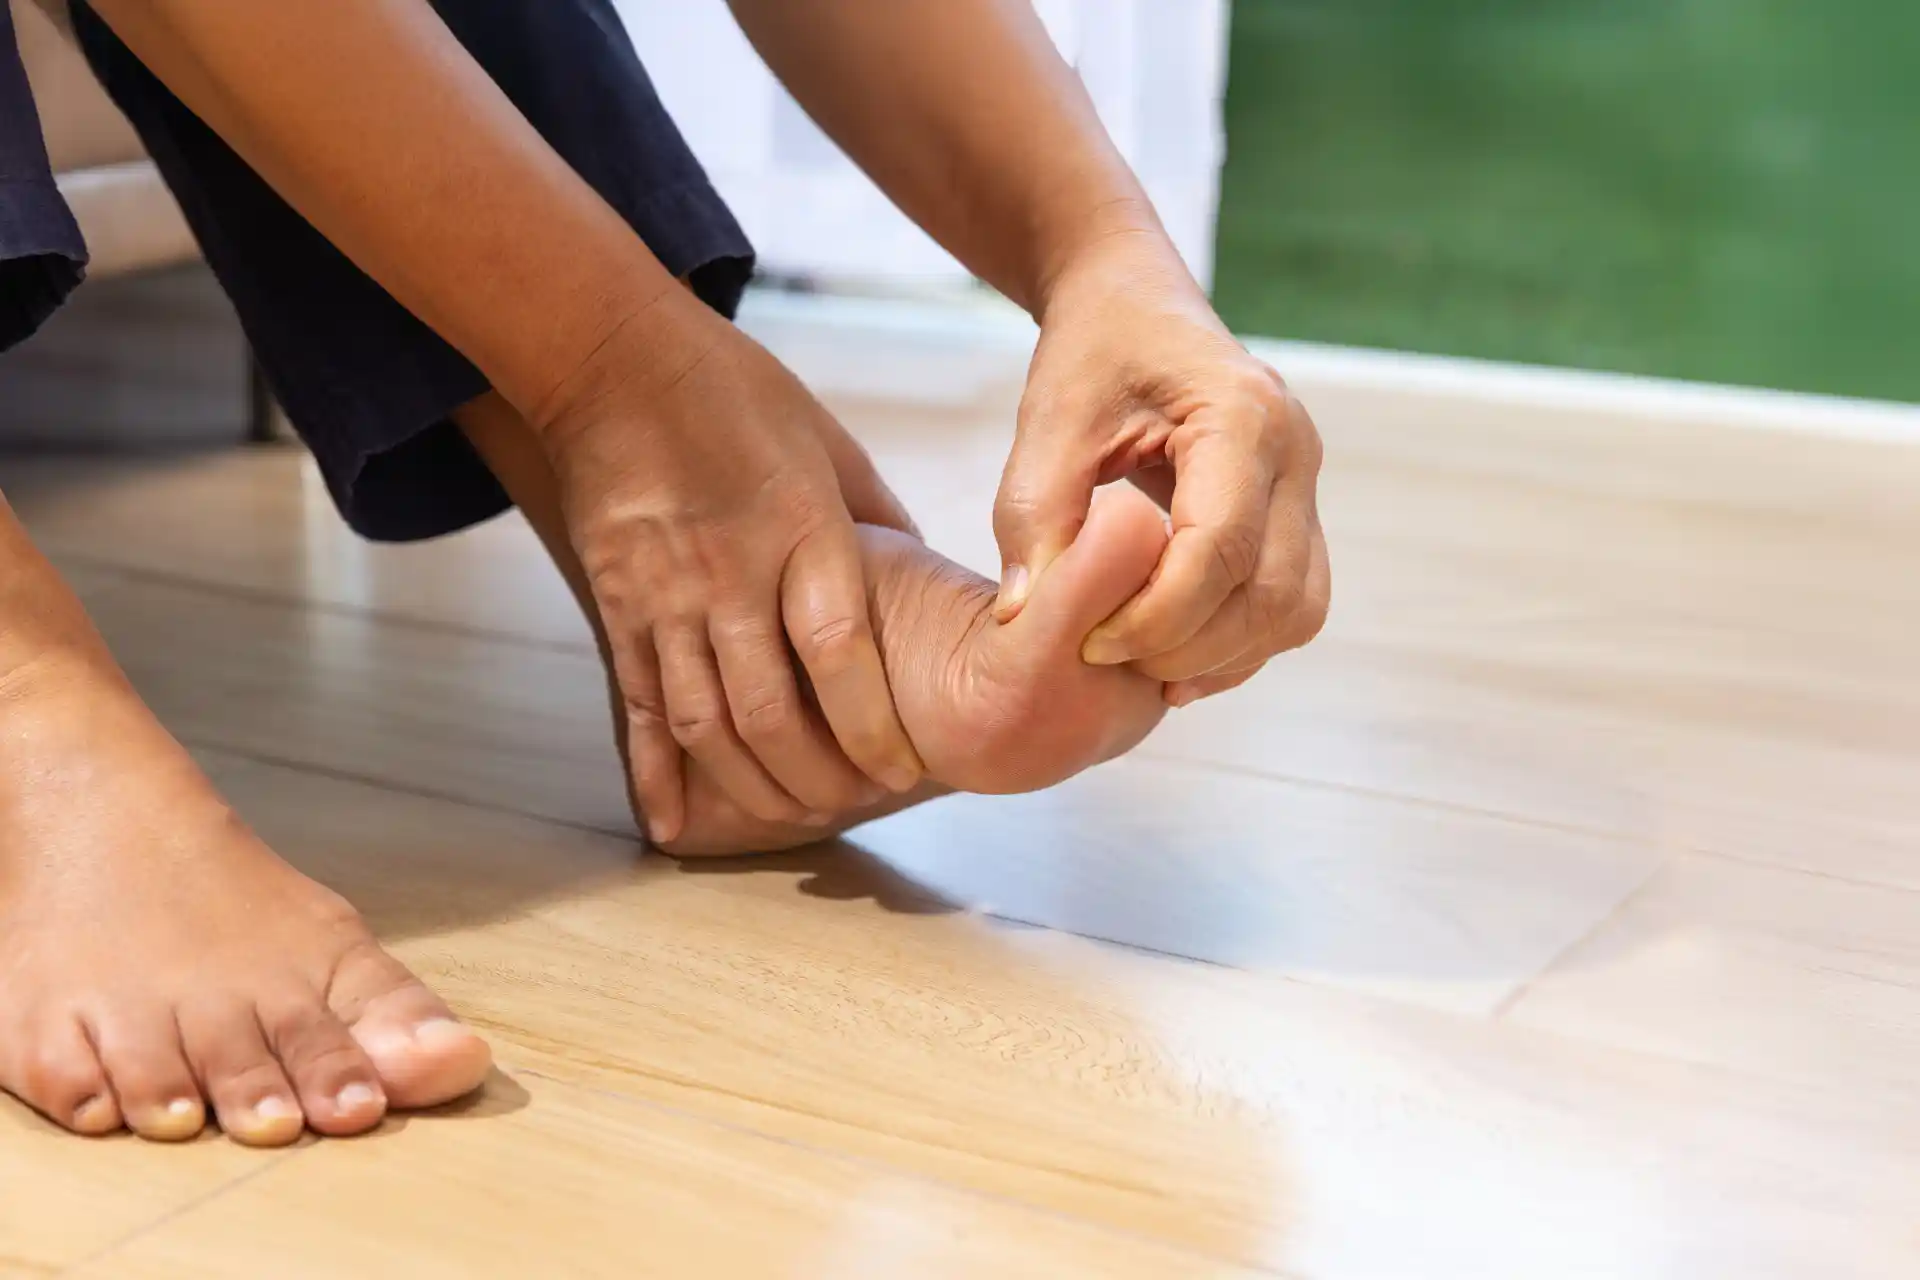
Understanding a Sprained Thumb
What Causes a Sprained Thumb?
A sprained thumb typically occurs when the thumb is excessively bent or twisted in an unnatural direction. This can damage the ligaments that provide stability to the thumb joint. Common causes include sports injuries, falling onto an outstretched hand, and any sudden force that may cause the thumb to move beyond its normal range of motion. For instance, catching a ball incorrectly or experiencing a collision in contact sports can lead to a sprain. Understanding the mechanics and risks associated with activities that put stress on your thumb can help you prevent such injuries. To learn more about different types of ligament injuries, you can read about ligament tear and related topics such as ulnar collateral ligament injury.
Symptoms of a Sprained Thumb
The symptoms associated with a sprained thumb can vary depending on the severity of the injury. Some common signs include:
- Pain at the base of the thumb or the thumb joint
- Swelling and tenderness around the thumb area
- Bruising or discoloration of the skin
- Difficulty grasping objects or performing tasks that require thumb movement
- A feeling of instability or weakness in the thumb joint
These symptoms can indicate a mild to severe sprain, and it's crucial to pay attention to them to determine the appropriate course of action. If you are experiencing persistent or severe symptoms, it may be indicative of a more serious ligament injury, such as an ulnar collateral ligament injury, which should be evaluated by a healthcare professional. For those who are active in sports, understanding sprained thumb exercises can be beneficial in recovery and prevention.
Self-Care Techniques for Healing
When you've sustained a sprained thumb, immediate and proper care is critical for healing and preventing further injury. Here are some self-care techniques that can help you manage your condition effectively.
R.I.C.E Method: Rest, Ice, Compression, Elevation
The R.I.C.E method is a commonly recommended approach for the initial treatment of soft tissue injuries, including a sprained thumb. Here’s how you can apply this method:
- Rest: Avoid movements and activities that cause pain or could worsen the injury. Keeping your thumb immobile is vital for the healing process to commence without interruptions.
- Ice: Apply an ice pack to the affected area for 15-20 minutes every hour for the first 48-72 hours post-injury. Ice helps reduce swelling and pain.
- Compression: Use an elastic medical bandage to wrap your thumb. This should be snug but not too tight as to cut off circulation.
- Elevation: Elevate your hand above heart level to reduce swelling. You can use pillows to prop up your arm comfortably.
By adhering to the R.I.C.E method, you can alleviate pain and swelling, thus promoting a better environment for healing. If you're uncertain about how to properly wrap your thumb, consider visiting our guide on how to tape a sprained thumb.
Pain Management Strategies
Managing pain is an important aspect of dealing with a sprained thumb. Here are some strategies that you can implement:
- Over-the-counter pain relievers: Medications such as acetaminophen or nonsteroidal anti-inflammatory drugs (NSAIDs) like ibuprofen can help reduce pain and inflammation. Always follow the recommended dosages and consult your healthcare provider if you have any underlying medical conditions or are taking other medications.
- Therapeutic ointments: Some topical ointments and creams can provide temporary relief for minor sprains. These products may create a feeling of warmth or coolness that can distract from the pain.
- Gentle movements: Once the initial swelling has decreased, gentle movements and sprained thumb exercises can help maintain flexibility and reduce stiffness. However, it's important to avoid any vigorous activity that could exacerbate the injury.
- Splints or braces: Using a thumb splint or brace can immobilize your thumb, providing support and preventing movements that could delay healing. These devices can be particularly useful if you find it difficult to keep your thumb at rest.
The table below outlines a simple pain management plan that you can follow in the days following your injury:
Remember that healing times can vary, and it's crucial to listen to your body. If pain persists or worsens, seek out professional help. For more severe ligament injuries, such as an acl tear or mcl tear, more specialized care and treatment may be necessary.
Rehabilitation and Strengthening Exercises
After the initial phase of healing your sprained thumb, which includes the application of the R.I.C.E method and managing pain, you'll want to move into exercises that can help rehabilitate your thumb and strengthen the muscles around it. These exercises are crucial for regaining the full function of your thumb and reducing the risk of future injuries.
Range of Motion Exercises
Range of motion exercises help restore flexibility and movement to your thumb after a sprain. Begin these exercises only when you can do so without pain.
- Thumb Bends: Gently bend your thumb towards each of your fingertips, holding for a few seconds at each finger before releasing.
- Thumb Extension: Stretch your thumb away from your palm as far as possible, then bring it back in line with your hand.
- Thumb Rotation: Slowly rotate your thumb in a circular motion, both clockwise and anticlockwise.
Start with these exercises slowly, and gradually increase the number of repetitions as your comfort level improves. For more detailed guidance on thumb exercises, visit our page on sprained thumb exercises.
Grip Strengthening Exercises
Strengthening the muscles in your hand and forearm will support your thumb ligaments and improve grip strength.
- Squeeze a Soft Ball: Hold a soft stress ball in your palm and squeeze it using all your fingers, including your thumb. Release and repeat.
- Thumb Opposition: Press your thumb against each fingertip in turn, applying gentle pressure to resist the force.
- Pinch Strengthener: Pinch small objects, like beads or coins, between your thumb and each fingertip.
Just like with the range of motion exercises, start these strength exercises gently and increase intensity over time.
Remember, the goal is to build strength without causing additional pain or strain to your thumb. If you experience discomfort, reduce the intensity or take a break from the exercises. As you work through these rehabilitation exercises, it's important to monitor your progress and ensure you're healing properly. Should you experience persistent pain or suspect a more severe ligament injury such as an ulnar collateral ligament injury, seek professional advice to ensure appropriate care.
Prevention and Long-Term Care
Once you've healed from a sprained thumb, it's important to focus on prevention and long-term care to avoid future injuries. By incorporating specific strategies into your daily routine, you can strengthen the thumb and improve its resilience.
Tips to Prevent Future Sprains
- Strengthening: Regularly perform exercises that build strength in your thumb and wrist. Strong muscles support and protect joints from injury. Find exercises that are easy to incorporate into your routine on our sprained thumb exercises page.
- Flexibility: Maintain flexibility in your hands and wrists through stretching. Flexibility helps to prevent injuries by allowing your joints to move through their full range of motion.
- Protective Gear: In activities that put your thumb at risk, such as certain sports, consider wearing a splint or brace to provide extra support to the thumb joint.
- Ergonomics: If you engage in repetitive tasks, ensure that your workspace is ergonomically set up to minimize strain on your hands and thumbs. This includes proper keyboard and mouse placement if you work at a computer.
- Awareness and Technique: Be mindful of the positioning of your thumb during physical activities. Use proper technique to reduce the likelihood of a sprain. For example, when lifting heavy objects, use your whole hand rather than relying on your thumb.
When to Seek Professional Help
While many thumb sprains can be effectively managed at home, there are situations where professional medical advice is necessary:
- Persistent Pain or Swelling: If pain or swelling doesn't improve with self-care after a few days, it may be a sign of a more serious injury, such as a ligament tear or ulnar collateral ligament injury.
- Inability to Move the Thumb: Difficulty moving the thumb or a noticeable decrease in the range of motion could indicate a significant injury that requires medical attention.
- Deformity or Instability: If the thumb looks deformed or feels unstable, or if you suspect a fracture, seek immediate medical care.
- Recurring Sprains: Frequent sprains might suggest an underlying issue that needs professional evaluation and treatment to prevent further injury.
- No Improvement with Self-Care: If your symptoms do not improve with home treatment, including the R.I.C.E method and how to tape a sprained thumb, a healthcare provider can offer additional treatment options.
By following these preventative measures and seeking help when needed, you can protect your thumb and ensure its health over the long term. Remember, taking care of your thumb today can prevent the inconvenience and pain of future injuries.
To learn how RELIEF® can help manage your ligament injury symptoms, without the need for steroids, medication, surgery, anesthesia, or post-procedure immobilization, contact us today to schedule a consultation.


.svg)